How to Whitelist Important Emails

  • Prevent the wrong emails ending up in spam folders
  • Easy-to-follow instructions on whitelisting
  • Never miss an important email again

With unsolicited and unwanted email becoming a larger problem, email services have made their spam filters more stringent. Unfortunately, these tougher guidelines for filtering can cause legitimate emails to be mistaken as spam.

To make sure you continue receiving important emails from CAL, we suggest that you follow the instructions below and add us to your whitelist.
A whitelist is a list of email addresses that you want to receive email from. Adding an address to your whitelist ensures that email from that address will not be filtered as spam.

If we haven’t provided instructions for your email client here are some tips:

  • Add the ‘from’ email address (eg: [email protected] and [email protected] ) into your email system’s address book
  • Look in the setting for “filters” or “spam/junk” to add the email above to the whitelist


Here are step-by-step instructions for some of the major email service providers.

If you are using Gmail there are two ways to ensure the emails are making it into your inbox. Both ways require using the Gmail web version (not from your mobile).

Create a filter

This is the best way to ensure our emails make it to your inbox and to relocate any that have been lost.

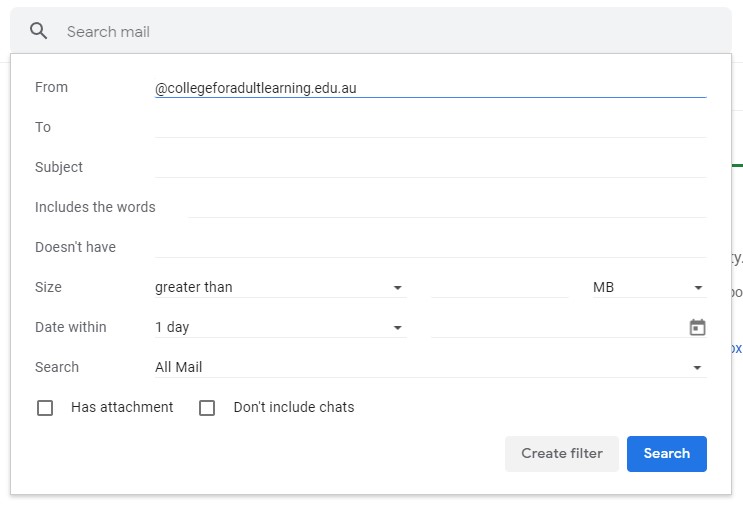
1. Click the filter icon in the search bar

gmail email filter step 01

2. In From add “@collegeforadultlearning.edu.au”

gmail email filter step 02

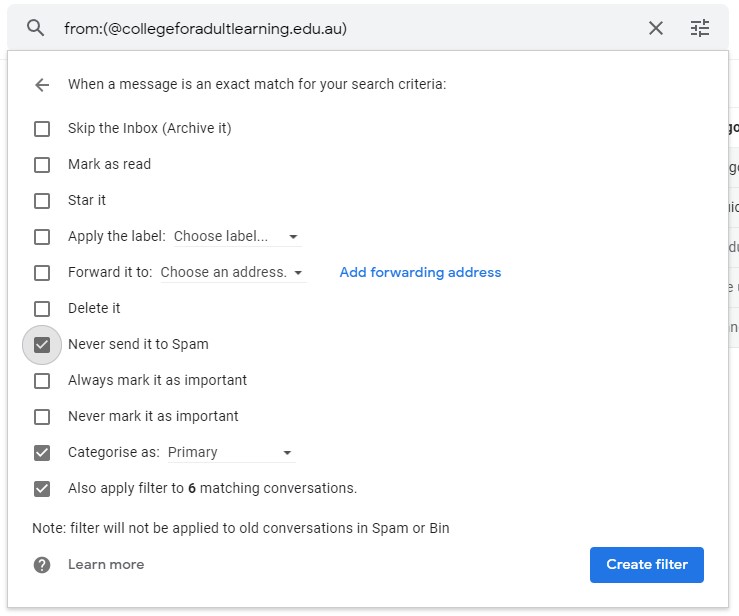
3. In the bottom right click Create filter

4. Check the Never send it to Spam

5. Check and change Catergorise as: to “Primary”

6. To apply the filter to our previously sent email check Also apply filter to matching conversations

gmail email filter step 03

7. Click Create filter to approve the new filter

8. Done, all emails from us will not always safely land in your inbox


Mark an email as not spam

If one of our emails has landed in your spam folder, here is how to save it.
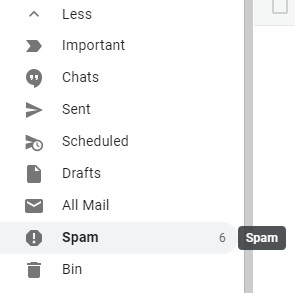
1. Open your spam folder

gmail spam guide 01

2. Open the email
3. At the top select Not spam

gmail spam guide 02

4. Done, in future emails should also now be recognised as not spam


Changing it in the browser:

1. Click the gear icon in the top right hand corner to open the settings menu>
2. Click “view full settings”
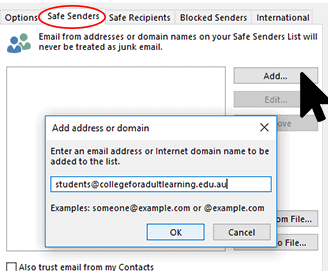
3. Click the “Email” and then “Junk Email” Buttons
4. Enter the “from” email in the “Safe Mailing Lists” menu then click “Save”

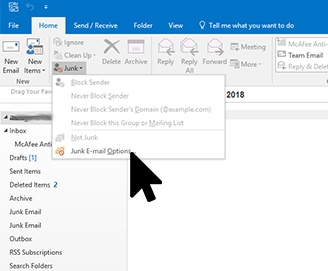
To Change it in the Desktop Application

1. From the Home Menu click
2.Once you have opened an email from us in the folder, click the “not spam” button..

If you use Yahoo as your email client, follow the steps below.

Using your Browser (Chrome, Safari etc.)

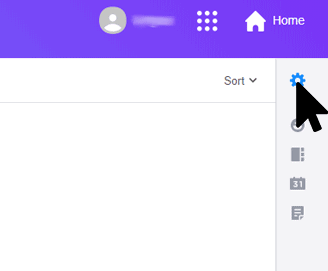
1. Click the gear symbol on the top left to open the settings menu
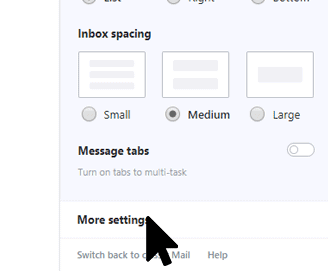
2. Click the button down the bottom to open “More Settings”
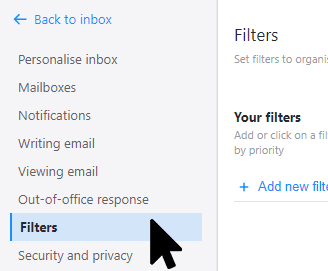
3. Down the right hand side of the page click “filters”
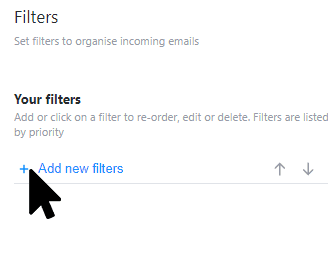
4. Click “add new filters”
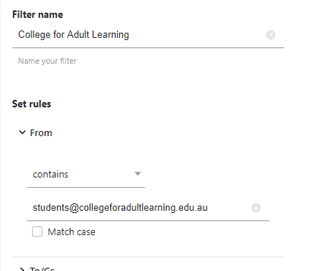
5. Under “Set Rules” and “From”, make sure the filter says “contains” and insert the email address “[email protected]” and “[email protected]” as shown below
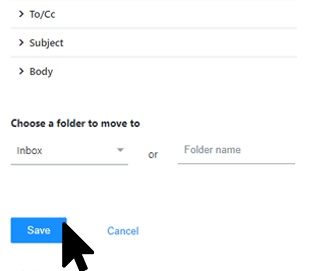
6. Set the folder for the emails to move to as “Inbox” or another folder that you would prefer”. Then click Save.

How to add your student email to your mail apps

Adding your student email address to your desktop or mobile applications can help ensure you’re across all communications.
Here are step-by-step instructions for some of the major email service providers.


Here are step-by-step instructions for some of the major email service providers.

Official Instructions:

  1. Go to Settings on your Apple Device (iPhone, iPad)
  2. Select Passwords & Accounts
  3. Select Add Account
  4. Select Microsoft Exchange
  5. Enter your CAL student email a chosen description e.g. “CAL”
  6. Select Sign in
  7. Sign in using your CAL student email and password
  8. Accept any permissions by selecting Accept
  9. Press Save

Official Instructions:

  1. Open Mail
  2. Select Mail
  3. Select Add Account
  4. Select Exchange, then click Continue
  5. Enter your CAL student email and password
  6. Select Sign in
  7. Select the apps you would like to use with this account (ensure Mail is selected)
  8. Click Done

Official Instructions:

  1. Open the Gmail app
  2. Open the menu, scroll down and select settings
  3. Select Add account
  4. Select Exchange and Office 365
  5. Enter your CAL student email
  6. Enter your CAL student password, and Sign in

Official Instructions:

  1. Open the Outlook app
  2. Open the Menu, then click on Settings
  3. Select Add Account
  4. Select Add Email Account
  5. Enter your CAL student email
  6. Select Continue
  7. Enter your CAL student password
  8. Select Sign in

Official Instructions:

PC instructions:

  1. Open the Outlook app
  2. Select File
  3. Select Add Account
  4. Enter your CAL student email
  5. Select Connect
  6. Enter your CAL student password
  7. Done

Mac instructions:

  1. Open the Outlook app
  2. Select Outlook
  3. Select Preferences
  4. Select Account
  5. Enter your CAL student email
  6. Select Continue
  7. Enter your CAL student password
  8. Click Add Account
  9. Done